Quarry Blast Hole Pattern Design: Burden, Spacing, and Why Your Muckpile Looks Wrong
Burden and spacing are written on the blast plan, but what the rock actually experiences is set by where the holes ended up — not where they were marked. This article — Part 3 of our crawler drill rig series — covers how burden and spacing are derived, what stiffness ratio controls, how hole deviation destroys a valid design at depth, and how to read a muckpile to diagnose what went wrong.
An Ethiopian Limestone Quarry That Added Explosive to Fix a Drilling Problem
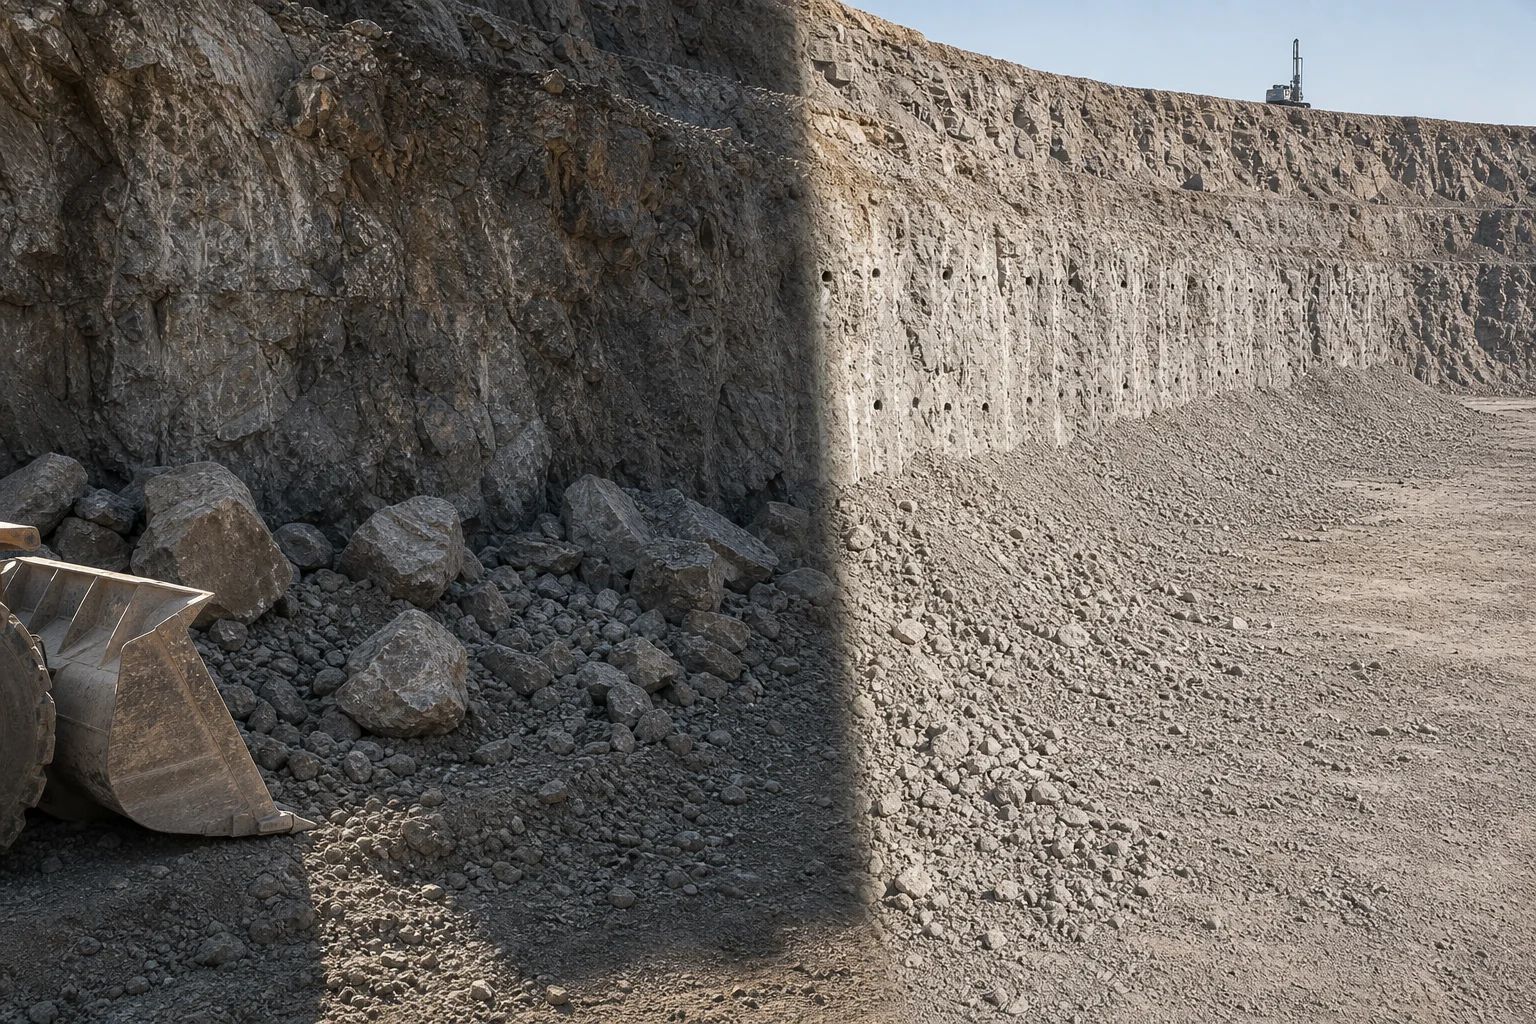
A limestone operation outside Dire Dawa was blasting 15-metre benches on a pattern of 3.0 m burden by 3.5 m spacing. On paper the design was sound for the formation and the hole diameter they were using.
Every blast left a toe — a ridge of unbroken rock roughly a metre high running along the base of the face. The loader could not get a clean bucket pass. The floor stayed rough, which meant the next bench of drilling started from an uneven platform, which made the following blast worse.
Their conclusion was that the powder factor was too low. They increased the charge by 15 percent. The next blast threw flyrock far enough to break a window in the crusher operator's cabin.
Nobody had surveyed the hole bottoms. When they finally did, the holes were deviating an average of 0.6 metres downhole. At the collar the burden was the 3.0 m on the plan. At the toe, where it matters most, the real burden on the front row was closer to 3.6 metres — twenty percent more rock than the charge was designed to break, concentrated at the most confined point in the hole.
The extra explosive did not reach the toe. It went into the upper part of the hole where the rock was already adequately broken and the confinement was lowest, and the energy vented upward as flyrock. They were treating a geometry problem with chemistry.
Burden: The Number Everything Else Depends On
Burden is the perpendicular distance from a blast hole to the nearest free face. It is the single most important dimension in blast design, because it determines how much rock each hole is asked to break and in which direction that rock can move.
The starting point for burden is hole diameter. A widely used first approximation is 25 to 35 times the hole diameter, with the lower end for hard, dense, competent rock and the upper end for softer or heavily jointed formations.
| Hole Diameter |
Burden — Hard Rock (granite, basalt) |
Burden — Medium (limestone, dolomite) |
Typical Spacing |
| 76 mm (3") |
1.9 – 2.1 m |
2.2 – 2.5 m |
1.15 × burden |
| 89 mm (3.5") |
2.2 – 2.5 m |
2.6 – 2.9 m |
1.15 × burden |
| 102 mm (4") |
2.5 – 2.8 m |
3.0 – 3.3 m |
1.15 × burden |
| 115 mm (4.5") |
2.9 – 3.2 m |
3.4 – 3.8 m |
1.15 × burden |
| 140 mm (5.5") |
3.5 – 3.9 m |
4.1 – 4.6 m |
1.15 × burden |
These are starting points for the first blast, not answers. The formation tells you the rest, and it tells you within two or three shots if you are reading the results.
The direction of error matters more than its size. Burden too large produces toe, oversize at the base, and back break into the next bench. Burden too small produces flyrock, excessive airblast, and wasted explosive — and it produces them immediately and dangerously. Erring slightly large is a production problem you fix next shot. Erring small is a safety event.
Spacing and the Pattern Ratio
Spacing is the distance between adjacent holes along the same row. The ratio of spacing to burden, usually written S/B, determines how the fracture zones from neighbouring holes interact.
For most quarry work with instantaneous or short-delay initiation within a row, S/B between 1.1 and 1.3 works well. This lets the fracture zones from adjacent holes overlap enough to break the rock between them without wasting energy on excessive overlap. A common default is 1.15.
Two patterns dominate in practice.
Square or rectangular patterns place holes directly behind one another between rows. They are simple to lay out and simple to drill, and they suit soft to medium formations where fragmentation demands are moderate.
Staggered patterns offset each row by half a spacing, so every hole in a back row sits between two holes in the row ahead. This distributes explosive energy more evenly through the rock mass and generally produces better fragmentation for the same powder factor. In hard rock or where fragmentation matters for crusher throughput, staggered is worth the extra layout effort.
Staggered patterns also change the effective burden geometry, which is a detail that catches people out. In a staggered layout the true burden for the back rows is measured from the hole to the line joining the two holes ahead of it, not simply row-to-row spacing. Laying out a staggered pattern using square-pattern burden figures leaves the back rows over-burdened.
Stiffness Ratio: Why Low Benches Throw Flyrock
Stiffness ratio is bench height divided by burden. It governs how the rock column behaves when the charge detonates, and it explains a category of problems that otherwise look random.
The general rule is to keep stiffness ratio at 2 or above. Below 2, the rock in front of the hole behaves less like a column that can flex and break forward, and more like a thick, rigid slab. The energy has nowhere useful to go horizontally, so it takes the shortest path — upward, out of the collar.
The practical consequences are consistent: flyrock, strong airblast, poor forward movement of the muckpile, and back break into the bench behind.
This is why an operation that reduces bench height for safety or access reasons — going from 12 m down to 6 m, for example — can suddenly start throwing flyrock on a pattern that worked for years. At 12 m bench and 3.0 m burden, stiffness ratio is 4.0, comfortable. Drop the bench to 6 m and keep the burden, and the ratio falls to 2.0, right at the limit. Drop to 5 m and it is 1.67, below it.
The fix is to reduce burden and spacing proportionally when bench height falls. Bench geometry and pattern geometry are one system, and changing one without the other is where a lot of quarry incidents start.
Hole Deviation: Where Valid Designs Fail
Everything above assumes the hole is where the plan says it is, all the way down. In deep holes it usually is not, and this is the most under-measured variable in quarry blasting.
Deviation accumulates from four sources: collaring error when the rig is not properly positioned or levelled, alignment error in the feed angle, bit wander at the start of the hole before the drill string is guided by the hole wall, and progressive drift through dipping bedding planes or hardness contrasts in the formation.
Typical deviation with reasonable practice runs 2 to 3 percent of hole depth. Poor practice — unlevelled tracks, worn feed guides, no collaring routine — pushes it to 5 percent or beyond.
The consequences scale with depth, which is why shallow benches tolerate sloppy drilling and deep ones do not.
| Hole Depth |
Deviation at 2% |
Deviation at 5% |
Effect on 3.0 m Burden at Toe |
| 6 m |
0.12 m |
0.30 m |
Minor — tolerable |
| 12 m |
0.24 m |
0.60 m |
Up to 20% burden error |
| 18 m |
0.36 m |
0.90 m |
Up to 30% burden error |
| 24 m |
0.48 m |
1.20 m |
Up to 40% — design meaningless |
Two effects compound. Where a hole drifts away from the face, the toe burden increases and that hole leaves unbroken rock. Where a hole drifts toward the face, the toe burden decreases and that hole becomes a flyrock source. The same blast produces both problems from the same cause, which is why the symptoms look contradictory and get misdiagnosed.
The most common single cause is failing to level the rig before collaring. It takes a minute and it is the highest-value minute in the drilling cycle. Rig positioning, tramming discipline, and setup routine are covered in our crawler drill rig selection guide.
Reading the Muckpile
The muckpile is the most honest report you get on a blast, and it is free. Its shape tells you what the energy did.
Loose, well-spread, low-angle pile extending forward from the face — energy distribution matched the geometry. This is the target.
Tight, high, compact pile that barely moved — insufficient forward movement. Burden too large, or delay timing too short for the rock to move before the next row fires.
Excessive throw with material scattered well beyond the face — burden too small, or stemming too short. Wasted explosive and a safety exposure.
Toe ridge remaining at the base — insufficient energy at the bottom of the hole. Subdrill too short, front-row burden too large at depth, or hole deviation. Check the hole bottoms before changing the charge.
Oversize concentrated in the upper portion of the pile — stemming column too long, leaving the collar zone under-charged.
Oversize distributed throughout — pattern too wide for the formation, or the rock is more competent than the design assumed.
Back break into the bench behind — back row burden too large, over-confinement, or excessive charge in the back row.
The toe case deserves the emphasis it gets here, because it is the one most often answered with more explosive. If holes are deviating, adding charge puts energy where the rock is already broken and cannot reach the toe. Survey the hole bottoms first. It is a cheaper diagnostic than a flyrock incident.
Free Face and Opening Cuts
Every blast needs somewhere for the rock to go. The free face provides relief — the surface toward which the rock can move and expand. Without adequate relief, even a correct pattern is over-confined and behaves like a design with excessive burden.
Three situations reduce relief and need to be handled deliberately.
Blasting into a previous muckpile. Un-mucked material against the face is confinement. The burden calculation assumes an open face, and the design should be adjusted or the face cleared first.
Corner and irregular geometry. Holes at a bench corner may have relief in two directions or almost none, depending on the shape. Burden at corners should be checked hole by hole rather than assumed from the pattern.
Opening a new bench with no existing face. This requires an opening cut — a set of holes fired first, often on a tighter pattern with higher powder factor, to create the free face that the main pattern will break toward. Treating the first row of a new bench as if it had a face is a reliable way to produce a fully confined shot.
Delay timing is what creates progressive relief through the blast. Each row must move sufficiently before the next fires, or the later rows are effectively firing into confinement regardless of what the plan says. Timing and pattern are designed together.
Why Welldone Mining
Welldone Mining supplies crawler drill rigs for quarry production drilling, and we specify them against the pattern the operation needs to drill rather than against a generic capacity figure.
What quarry customers get:
- Rig and hole diameter matched to your bench geometry. Send bench height, formation type, and target production, and we work back to the hole diameter and pattern that suit it — then specify the rig for that hole size, not the other way round.
- Compressor matched to the rig. Hole diameter and depth set the air requirement. We size the compressor to the drilling package rather than leaving it as a separate purchase, which is where most mismatch problems originate.
- Setup and accuracy guidance. Levelling and collaring routine, feed alignment checks, and the deviation control practices that keep a valid pattern valid at the toe.
Related Solutions
Conclusion
Blast design is written at the collar and judged at the toe. Between those two points, hole deviation decides whether the design that was calculated is the design that the rock actually receives.
Burden sets the workload per hole, spacing sets how the fracture zones interact, stiffness ratio decides whether the energy can move forward or only upward, and the muckpile reports on all three. None of it survives a hole that has drifted half a metre by the time it reaches the bottom.
The Dire Dawa quarry had a correct pattern on paper and a wrong one in the rock. The 15 percent extra charge did not reach the toe because the toe was not where the plan put it. A hole survey would have cost them an afternoon.
Website: www.welldonemining.com
Email: info@welldonemining.com
Frequently Asked Questions
How do I calculate burden for my quarry?
Start at 25 to 35 times the hole diameter — the lower end for hard competent rock, the upper end for softer or jointed formations. Then adjust from results over two or three blasts. If you get toe and oversize at the base, reduce burden. If you get flyrock and airblast, increase it. Always confirm your bench height gives a stiffness ratio of at least 2 at whatever burden you settle on.
Should I use a square or staggered pattern?
Staggered generally produces better fragmentation for the same powder factor because energy is distributed more evenly through the rock mass. It is worth the extra layout effort in hard rock or where crusher throughput depends on fragmentation. Square patterns are simpler to lay out and adequate in softer formations with moderate fragmentation requirements. Note that staggered patterns need burden measured to the line of the two holes ahead, not row-to-row.
Why do I keep getting toe after every blast?
Three usual causes. Insufficient subdrill, so the charge does not extend below grade far enough to break to the floor. Front-row burden too large at the toe, often from hole deviation rather than from the plan. Or inadequate energy at the bottom of the hole. Survey hole bottoms before increasing the charge — if deviation is the cause, extra explosive goes to the collar zone and produces flyrock rather than breaking the toe.
How much hole deviation is acceptable?
Under 2 percent of hole depth with good practice. Above 5 percent, deep-hole blast design becomes unreliable regardless of how carefully it was calculated. Levelling the rig before collaring, maintaining feed guides, and a consistent collaring routine are the main controls. In 18-metre holes, 5 percent deviation is 0.9 metres — a third of a typical burden.
Can Welldone Mining help specify a rig for our bench geometry?
Yes. Send your bench height, formation type, target production rate, and current pattern to info@welldonemining.com. We work back from the pattern to the required hole diameter, then specify the crawler rig and matched compressor for that hole size and depth.